In part one of this series we set up a web server. The next step is to make it act like a real website.
Buy a domain name
The first thing to do is to name it.
Typing http://192.0.2.146 to get to your content is impersonal,
boring, and impossible to remember. The name of a website is its
domain name.
For example, the domain name for English-language Wikipedia
is en.wikipedia.org.
-
orgis the top level domain (TLD). -
wikipediais the second level domain. -
enis a subdomain.
Top level domains come in two flavors, generic and country code.
Generic top level domains (gTLDs) include some you are familiar with,
like .com and .org, and a bunch you've probably never seen,
like .anime and .tattoos.
Country code top level domains (ccTLDs) are all two-letter
country codes taken
from ISO-3166.
A few of the most common are .uk (United Kingdom),
.de (Germany), and .cn (China).
Sometimes people will get creative with country codes and
repurpose them.
The .ai (Antigua) ccTLD has been co-opted by a whole generation of
startups. Same for .io (British Indian Ocean Territory).
.me (Montenegro) is a fun one for personalized websites, and the US
state of Maine. .it (Italy) and .to (Tonga) are useful for spelling
English phrases and words like this.is.it and p.ota.to.

The comprehesive list of TLDs has 1439 of them, as of August 2025 so it's easy to get overwhelmed. If you get paralyzed by choice, you're always safe going with dot com.
There’s a running joke that the most important part of any project is choosing the right domain name. There’s another joke that 90% of projects don’t get past choosing a domain name. It’s fun but not critical. Put as much or as little thought into it as you want. It's OK to make this all about you. And anyway, if insipration strikes next month you can always buy another domain.
There are quite a few reputable domain registrars--places that can sell you a domain name--and it's tough to go wrong. I get mine through Namecheap, but other popular ones are Hostinger, GoDaddy, and porkbun. I found this TechRadar review very helpful. You can go to one of these fine establishments and just buy your domain name of choice, as long as someone else hasn't beat you to it. It's so cool that with a few clicks and a few bucks you can claim a a globally unique piece of real estate and start to build your digital castle there. Trippy.
Point the domain to your web server
The next step is to inform the domain name servers (DNS) of the world that your new domain name should point to your web server.
This most likely is something you can do through the company that sold you your domain name. The Namecheap interface looks like this, and other domain name brokers have a similar page.
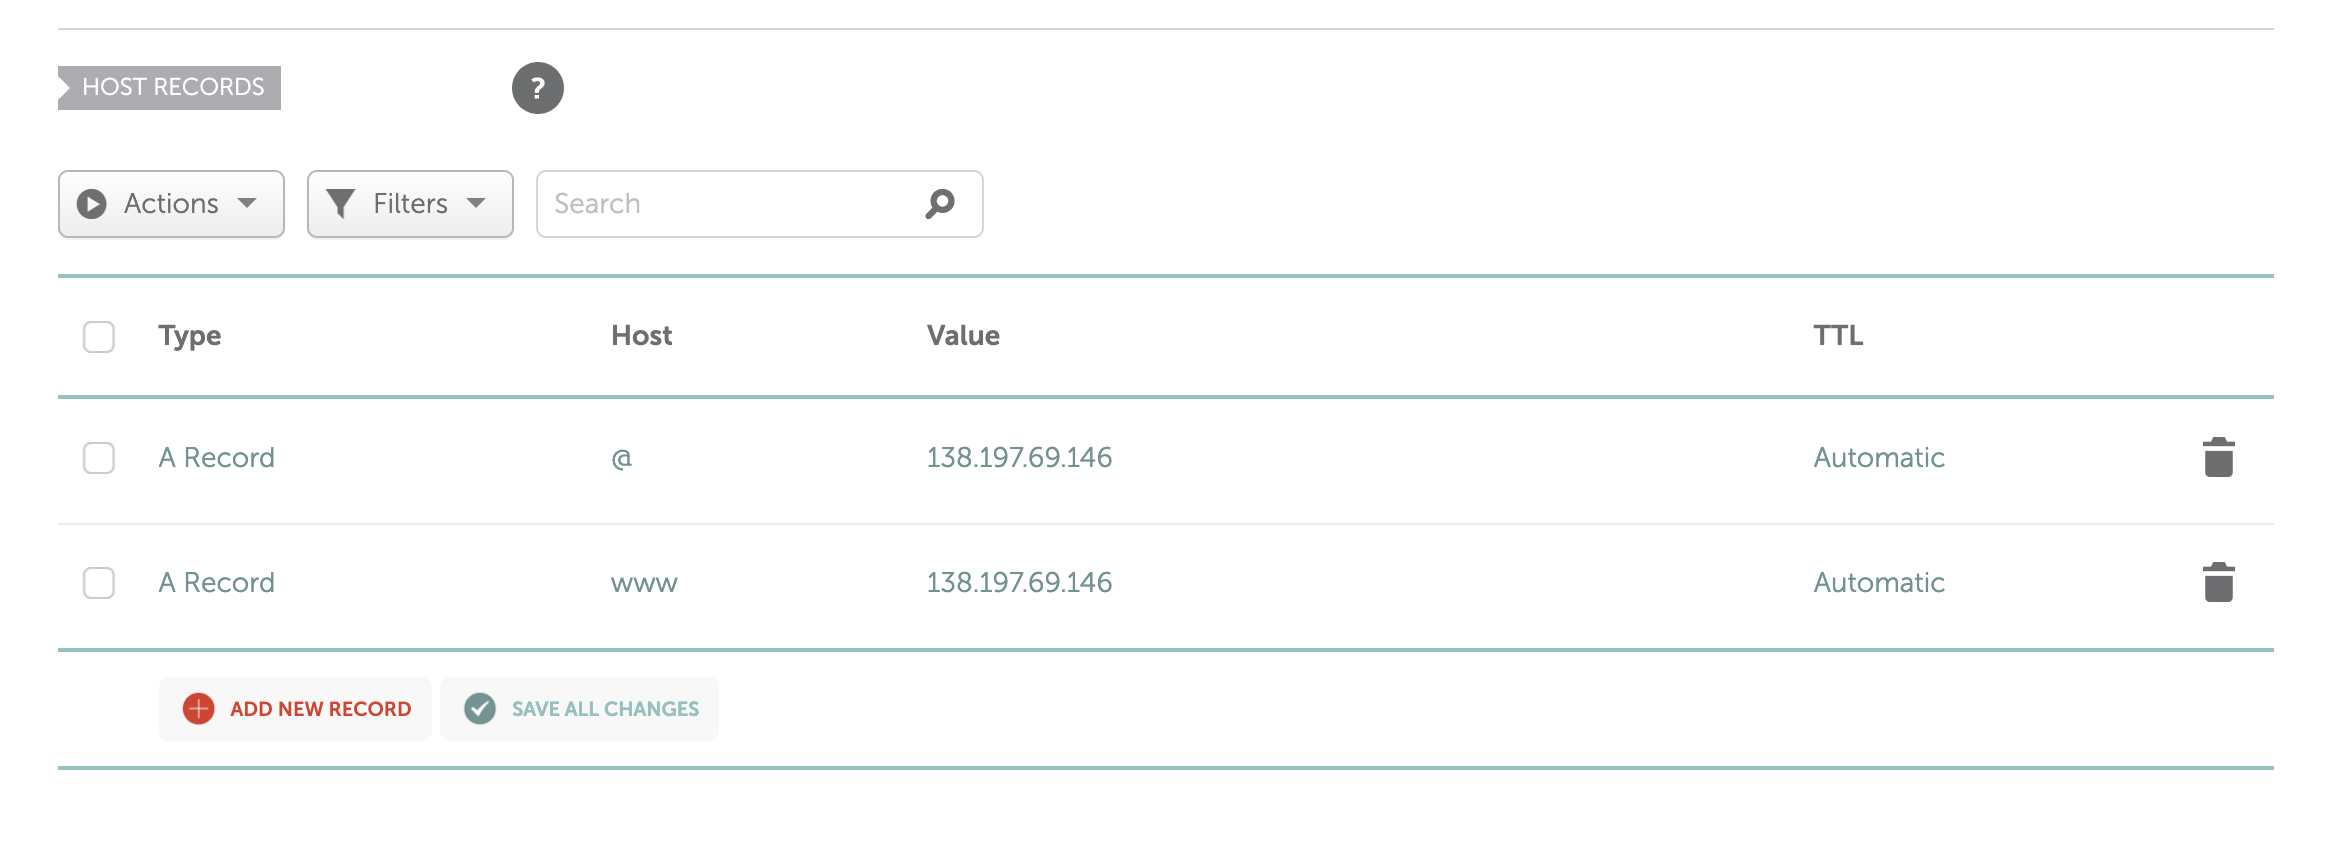
The important pieces of information here are
- Type This will be an "A record" (short for Adress). There are a few other useful types but nothing that we need to worry about to get started. A records establish the IPv4 address assoicated with the domain name.
- Host This is the domain name being assigned. As a short hand,
@means "whatever domain name you just bought and are now setting up", maybe something likebrandonrohrer.com.wwwis also shorthand forwww.brandonrohrer.com, just likeenin this column would be shorthand foren.wikipedia.orgif we were setting up the Wikipedia page. - Value The IP address that the Host should be directed to. For us this will be the IP address of the web server we just created.
- TTL Time to live for this DNS record on the domain name servers before they forget about it and have to ask again. "Automatic" is fine unti you start doing fancy things with DNS.
The entries in this image will send any Internet user in the world who
puts brandonrohrer.com or www.brandonrohrer.com in their browser to
192.0.2.146.
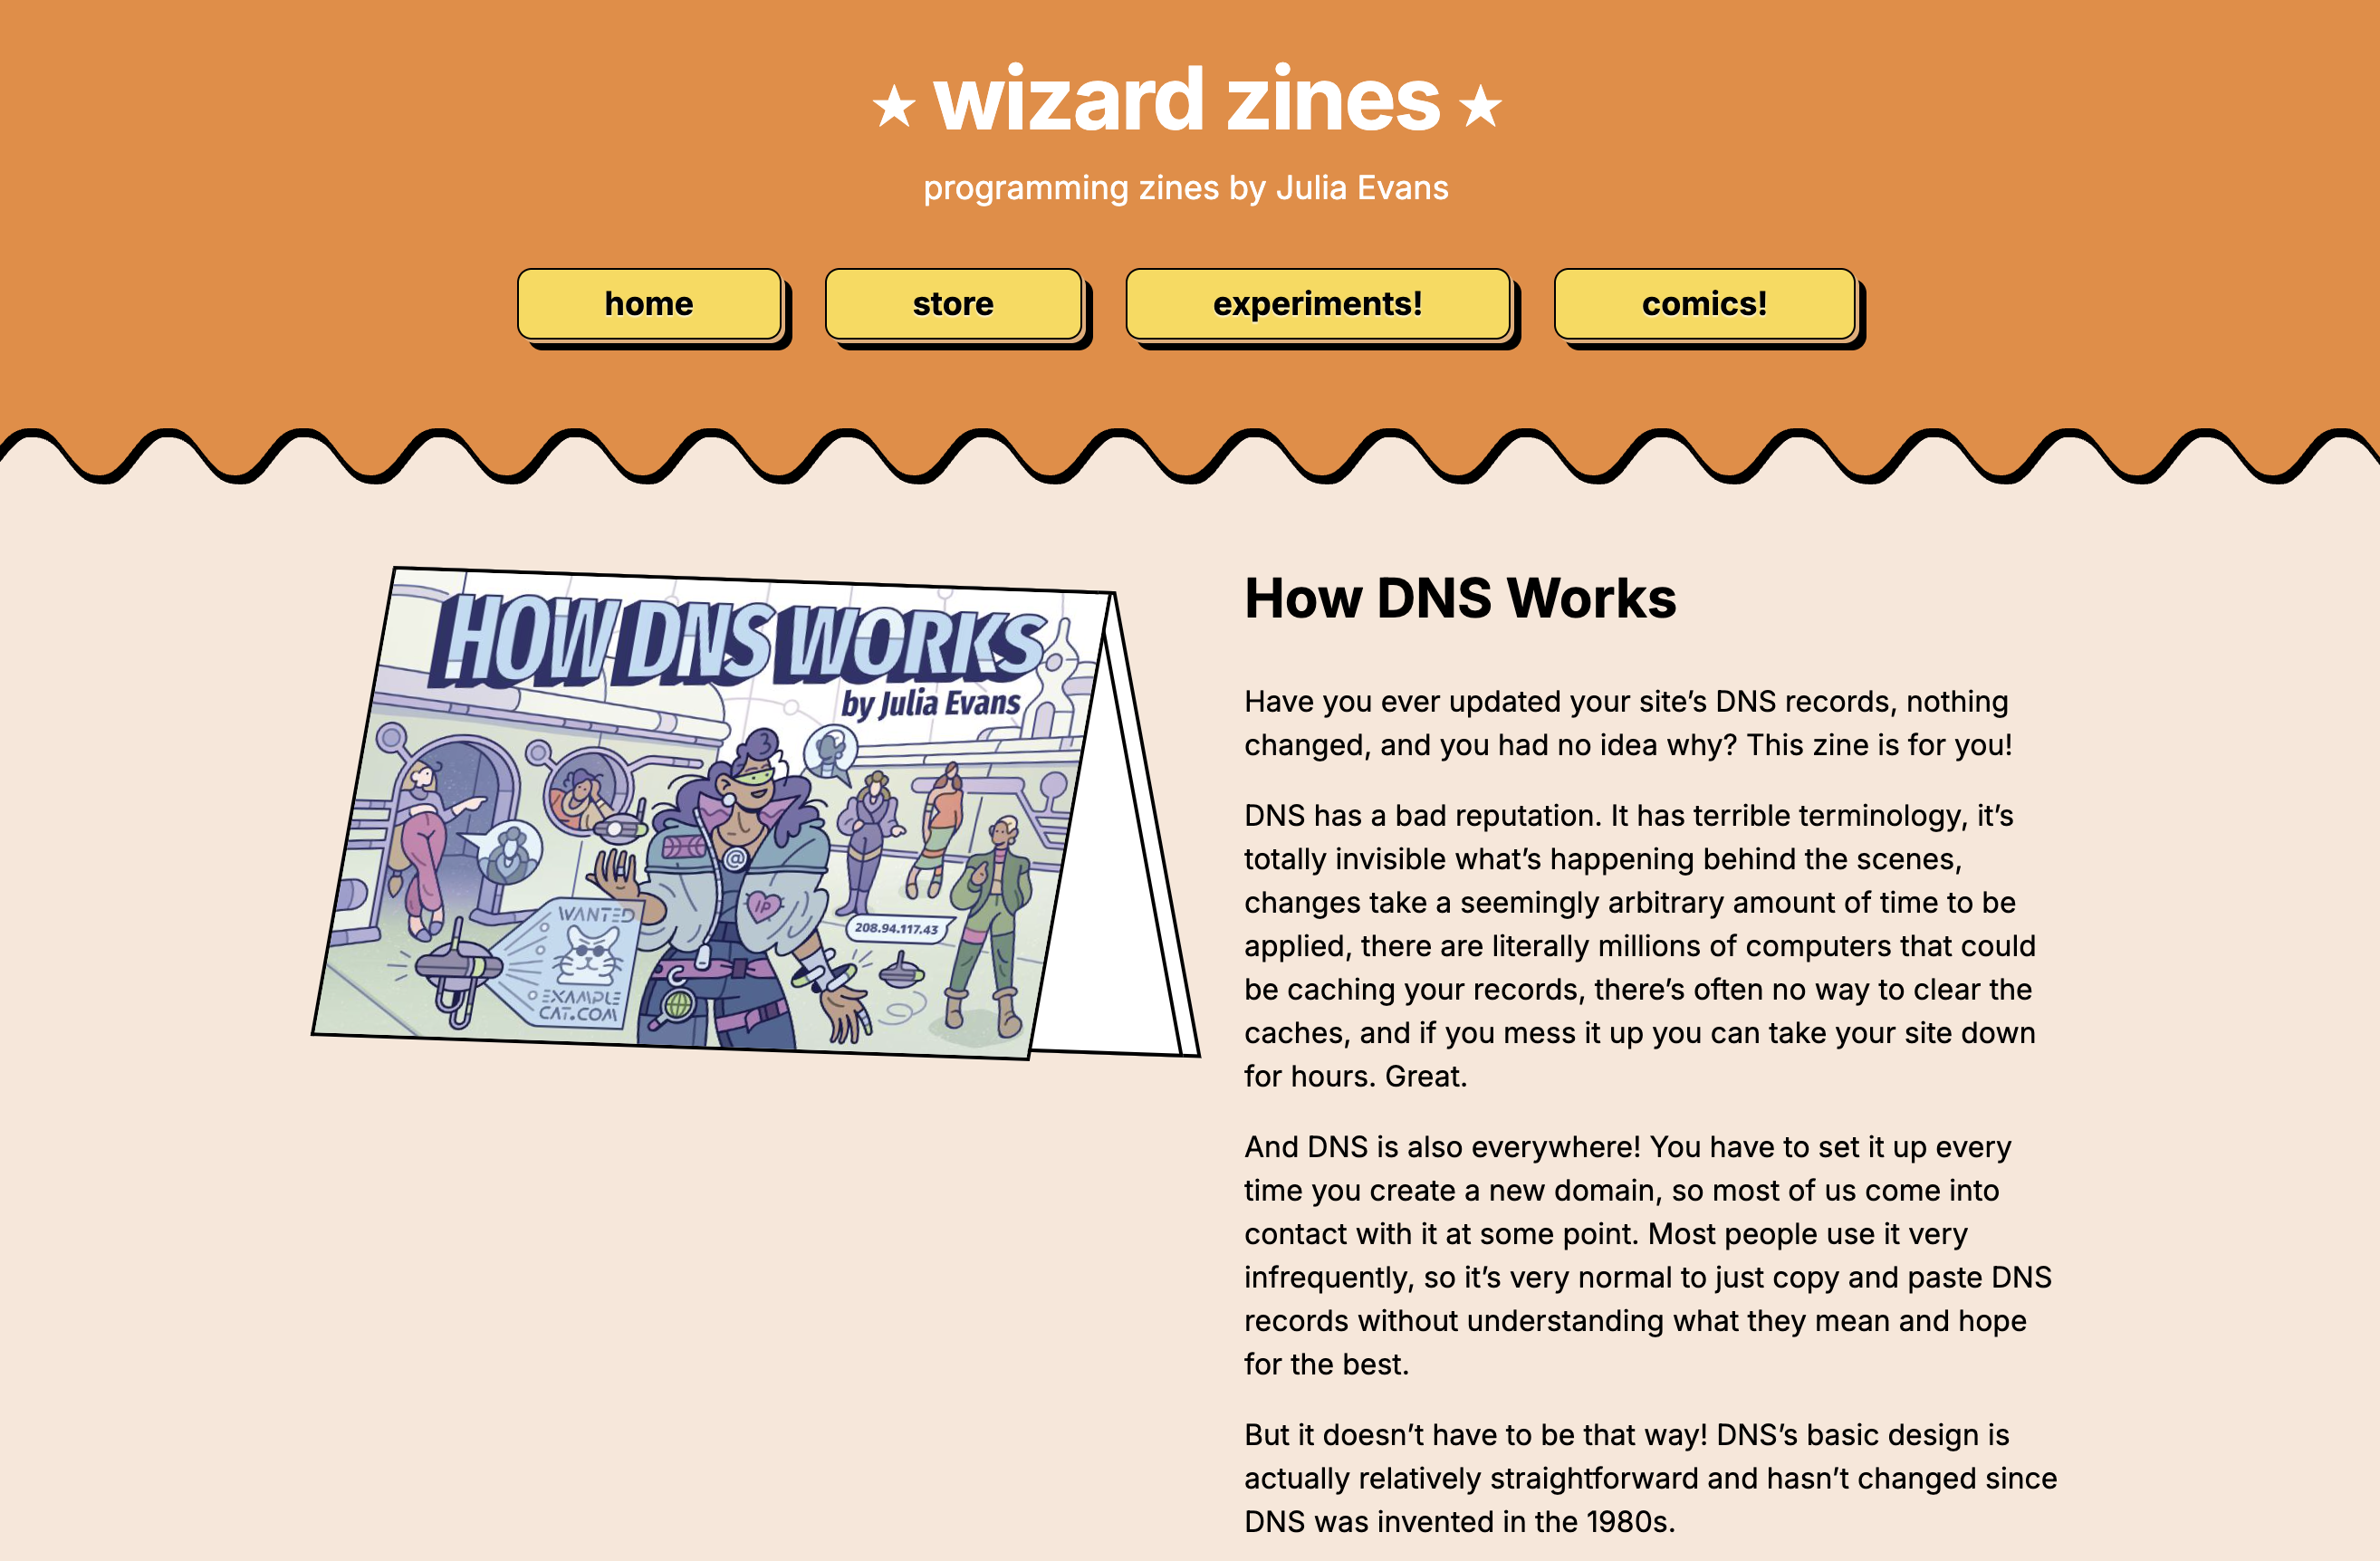
DNS is a big topic, and the details can bite you occassionally. If you have a few minutes and a little curiosity, I recommend checking out How DNS works by Julia Evans. It is both ridiculously accessible and deeply informative. Best $12 you will spend this week.
Wait
If your domain is brand new, then the DNS records you added may be available quickly, but more often it can take up to 48 hours. DNSs hang on to address records that they've read recently (DNS caching) and only ask for updates after the TTL has expired. Unfortunately this can be a couple of days.
You can check in on the process while waiting. There are several
command line invocations on Linux and MacOS that resolve a domain name.
After reassigning e2eml.school to 192.0.2.146 here were some
of the ways it showed up.
ping
ping e2eml.school
gave me
PING e2eml.school (192.0.2.146): 56 data bytes
64 bytes from 192.0.2.146: icmp_seq=0 ttl=46 time=19.565 ms
64 bytes from 192.0.2.146: icmp_seq=1 ttl=46 time=19.744 ms
64 bytes from 192.0.2.146: icmp_seq=2 ttl=46 time=22.920 ms
64 bytes from 192.0.2.146: icmp_seq=3 ttl=46 time=23.076 ms
...
ping checks how long it takes to send a packet to the destination and
get a response. In the process it also reports the IP address that
the domain resolved to.
host
host e2eml.school
gave me
e2eml.school has address 192.0.2.146
...
host directly resolves the IP address associated with the domain name.
It doesn't necessarily do this in the same way as ping. It can ask
different computers and programs. So it may give a different answer,
as the DNS record changes roll out to the rest of the DNSs.
nslookup
nslookup e2eml.school
gave me
Server:		2001:558:feed::1
Address:	2001:558:feed::1#53

Non-authoritative answer:
Name:	e2eml.school
Address: 192.0.2.146
The IP address appears here too. This method is also complementary to
ping and host. It can give a different answer.
dig
dig +noall +answer e2eml.school
gave me
e2eml.school. 1799 IN A 192.0.2.146
In yet another way it returns the IP address for the domain.
A convenient way to run bulk checks from a collection of places around the world is from a DNS checker website.
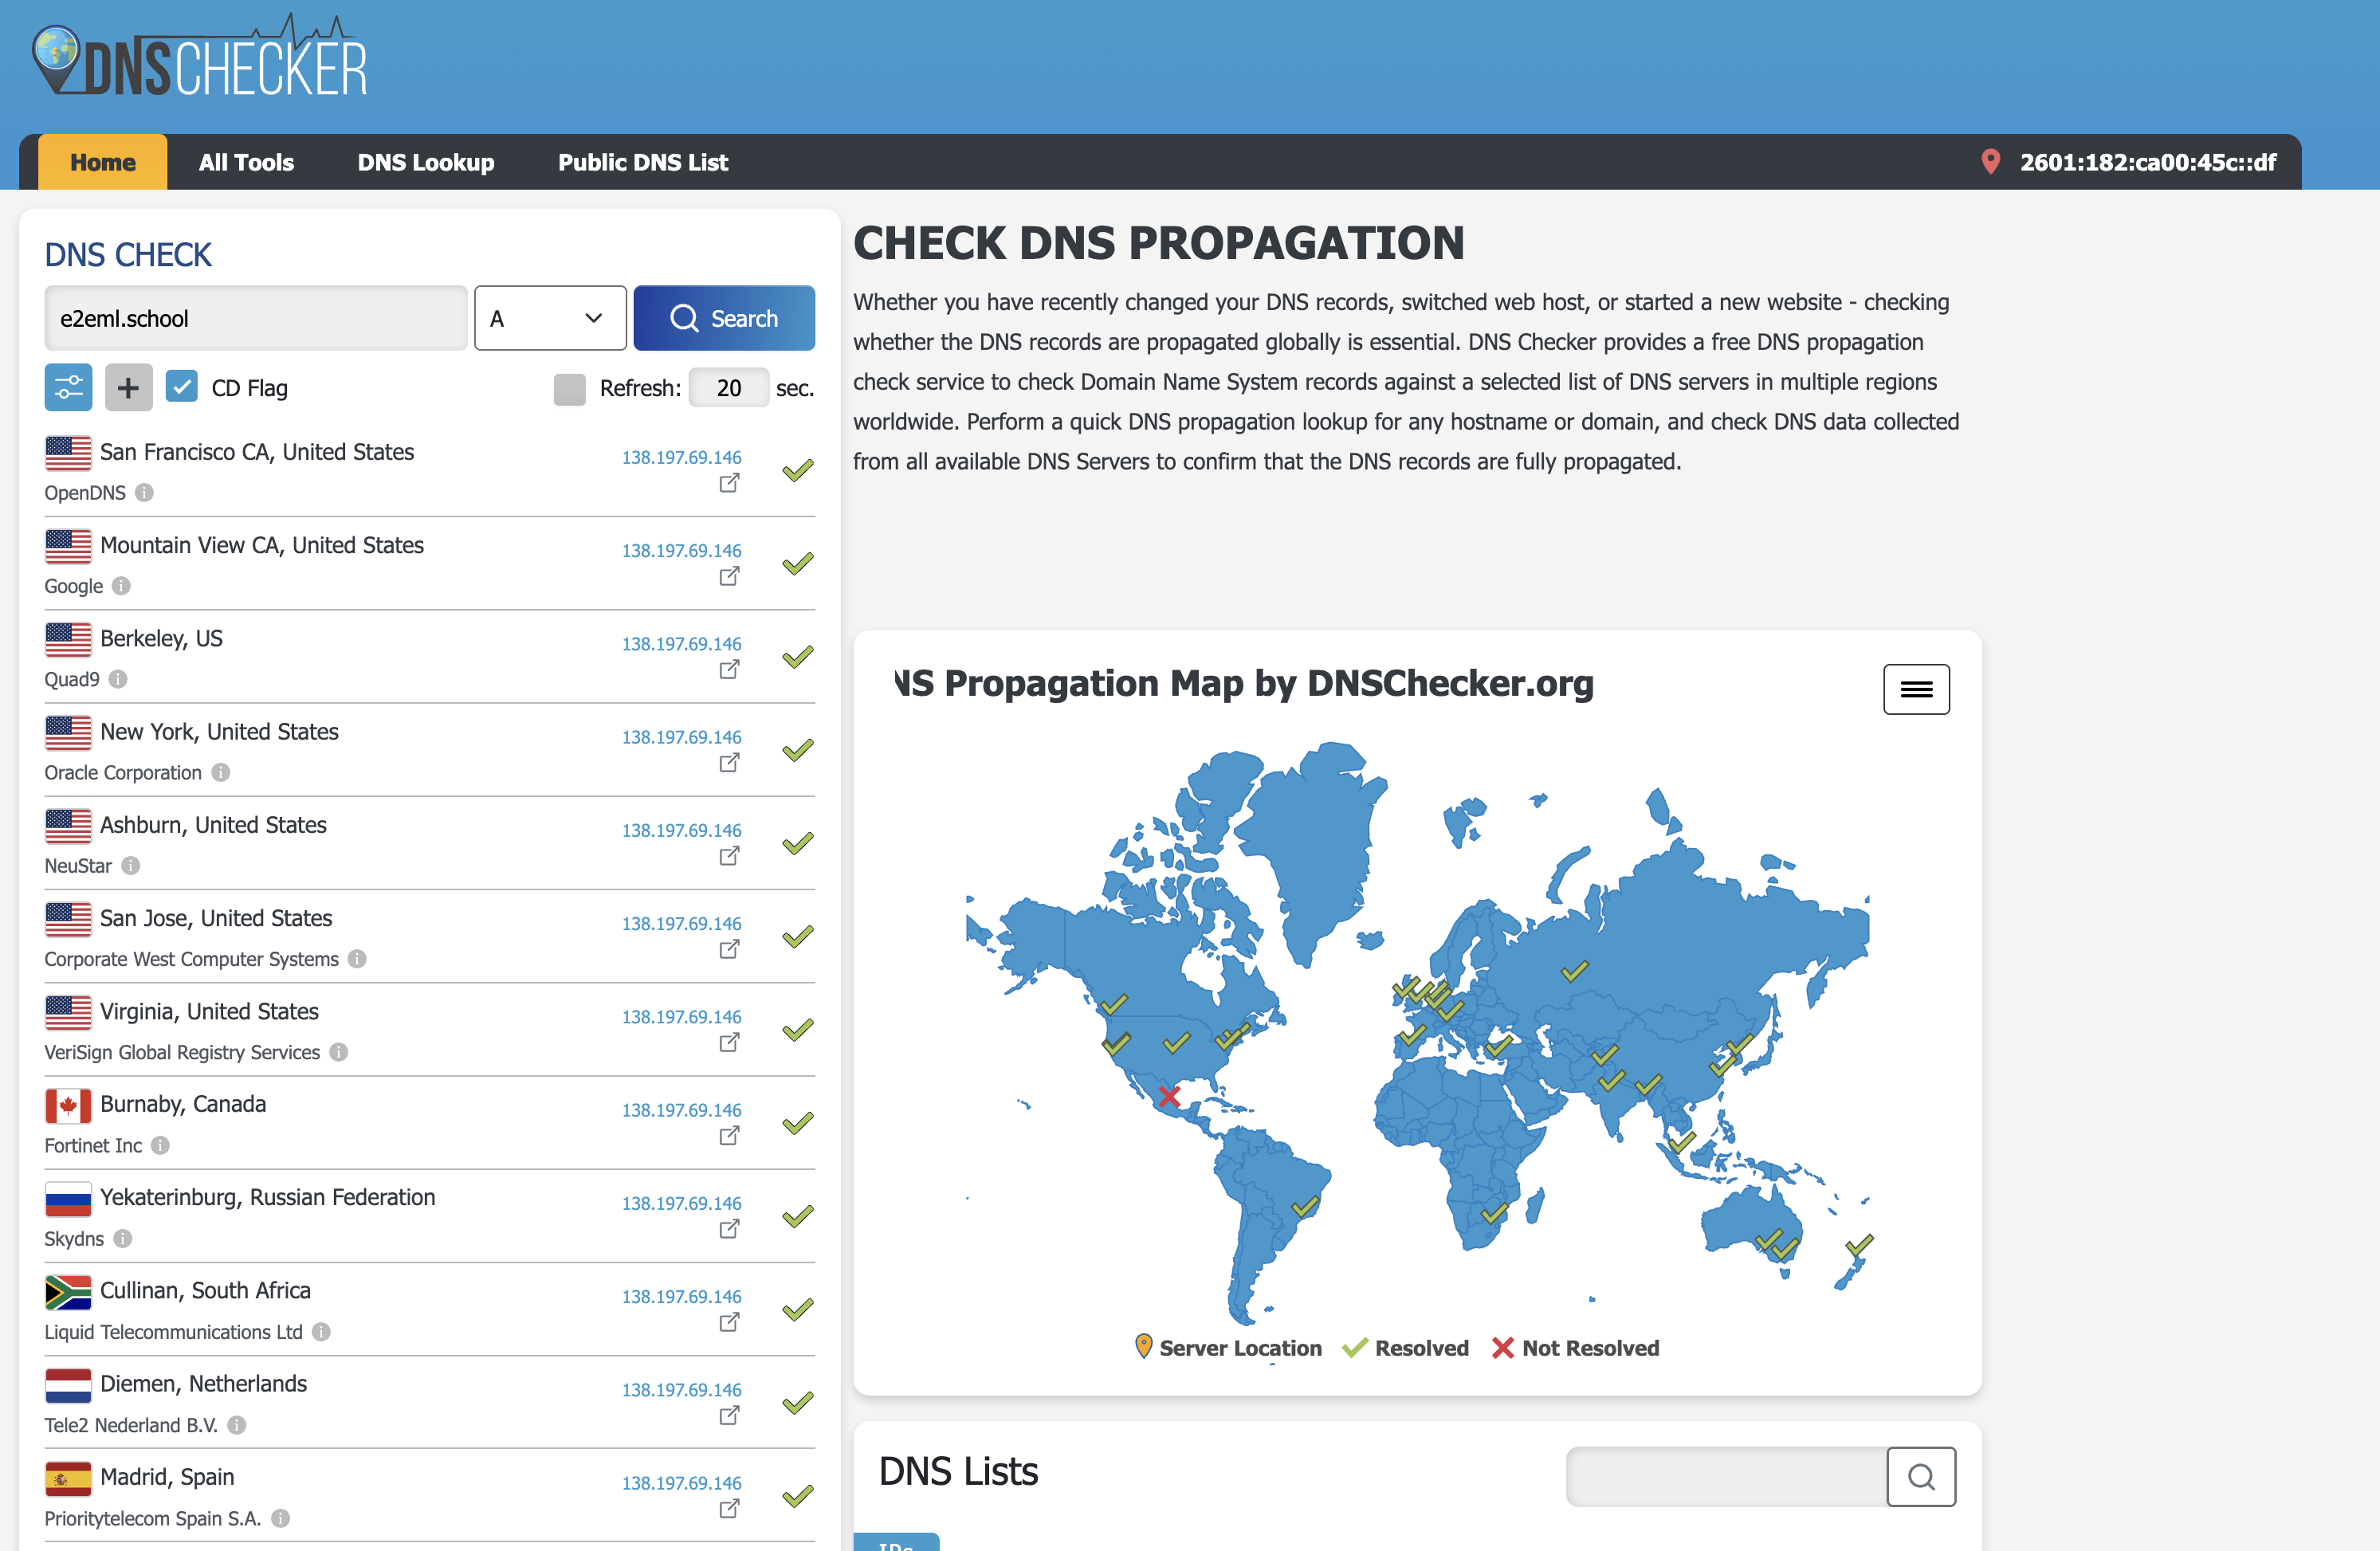
When all of these agree, that's a pretty good sign that the DNS record change
is complete.
But the ultimate test is to run and end to end verification.
Make some change to a .html file on the server and see whether it
shows up when you try to read that file in your browser.
Add your websites from a repository
You can be done now if you want. You have the http:// version
of your domain pointing to your IP address, and a place where you
can add all the html files you like. This next step, while optional,
can make it easier to develop web pages and track your changes.
Rather than have your web server be your source of truth for your web pages, you can have your main copy live in a git repository. Then you just pull this repository to your web server when you want to roll out edits or new pages.
For convenience, name your git repository the same name as your domain
and put all the files in an html subdirectory.
my.website.com
┗ html
  ┣ index.html
  ┣ ...
If you're new to git and want to open the black box, Julia Evans' Wizard Zines is an amazing explainer. There are some other helpful resources here, especially Oh shit, git! ( also available as a zine ), the repair kit in case things go off the rails.
If your repo is on GitHub, then you can put in to your server where it needs to be with this:
cd /var/www/
sudo git clone https://github.com/your-github-username/your-domain.git
Modify as necessary if you are using another git service.
Using the http version works great because the web server will be pull-only
and shouldn't need to mess around with keys or authorization because it's
not going to be making any changes.
And any time you make change to any of your files in the repository, you can
re-deploy it with
sudo git pull origin HEAD
Set up a server block
To finish setting up nginx to use your web code from git, follow these excellent instructions in the Digital Ocean docs that do a better job than I can of walking you through this. There are a lot of steps, but they are all copy/paste-able into your ssh console.
Putting all the files for your domain in its own directory like this referred
to as a server block. While you can just dump them all in the top level
/var/www/html/ directory, this gives a little more structure to them.
And the really cool part is that you can repeat this for other
domain names if you want. No need to spin up another server instance
for each one.
At this point, you have a fully deployed website at http://your-domain.
The next post is going to change that into a https:// and do some
other things to harden the security of your website and server.
It's a brutal world out there, and it pays to protect yourself.
Deploy changes
When you make edits or add pages the steps to deploy them are, first, make sure the changes are reflected in the git repository. Then, ssh into the server and run
cd /var/www/your-domain
sudo git pull origin HEAD