Creating a web page is only the beginning. The business of sharing it with the world has a lot of moving parts and a lot of choke points. If an ISP decides to stop traffic to your website or if your hosting platform goes bankrupt there isn't a lot you can do about it. But what you can do is have a solid Plan B -- being ready to spin up another copy of your website on another server. A server that you control, or at least a server of your choosing.
This guide shows one way to do set up your own hosting. It's not the only way or even the best way. But it is at least a path through the desert.
Choose a computer
There are lots of cloud providers out there, of all sizes and in a lot of difference countries. Pick one. Or use a computer you have at home, if your ISP will let you get away with serving a website from it.
I chose Digital Ocean because I had heard some good things about it and because it wasn't AWS. The first step there is to create an account on Digital Ocean by setting up a "Team", even if it's just you.
Add an ssh key
Create a public/private key pair on your local machine. Follow the Digital Ocean menus to
Settings -> Security -> Add SSH Key
and follow the instructions there and here are some related docs .
It's recommended to create a passphrase for your keys, but don't forget to write it down.
Create a Digital Ocean droplet
Individual computers within Digital Ocean are called droplets. (Clever, right?)
There's a good walkthrough in the DO docs, and the UI is not bad.
Importantly, make sure to add your ssh key during the creation process. And note the IP address.
I chose a small box with 1 GB Memory, 25 GB Disk in the NYC data center
running Ubuntu 24.04. Its IP address is 192.0.2.146.
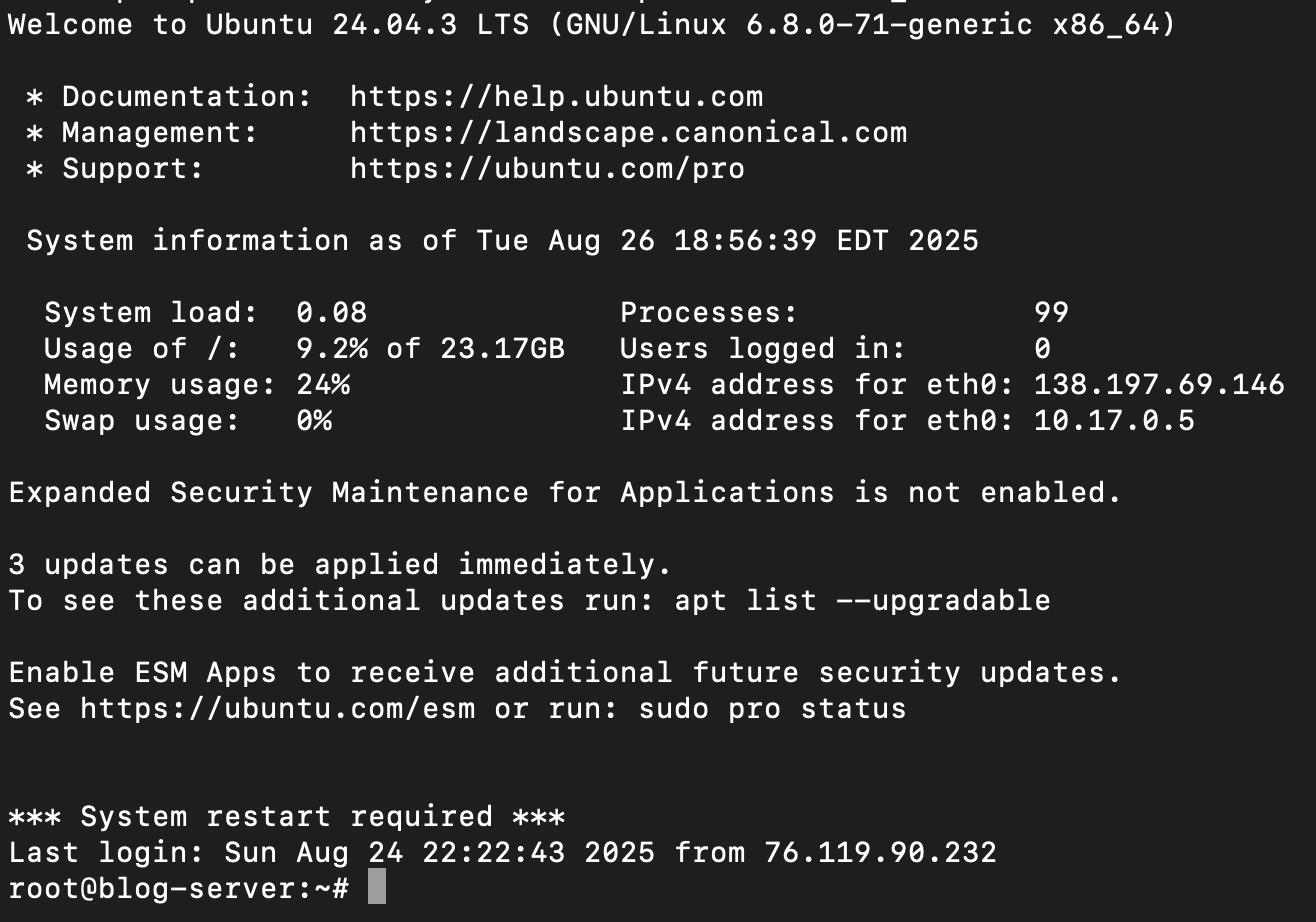
ssh in from a terminal
ssh root@192.0.2.146
and provide your passphrase if you have one.
From this point, most of the steps will be the same, whether you're on Digital Ocean, another service provider, or a laptop, as long as it's running Linux.
Create a user
It's possible to work as root all the time, but it's just too easy to
accidentally do something destructive. Future you will thank you if you
create a non-root user. My preferred username is brohrer but sub yours
in below.
sudo adduser brohrer
and then create a password. A new one. One that you've never used anywhere, for anything.
We'll do more with security later, but one thing you can do here is practice
a little bit of security-through-obsurity and choose a non-obvious
user name. A very deep dive
on brute force ssh attacks show them to be mostly random, even including
the usernames attempted. Choosing a common first name as a username, like
steve,
means that it's likely to get guessed far more often than, say,
stevienicks. It' not any kind of hard defense, but every bit helps.
Your new user will definitely want to do root-level things though, so
it will need to have sudo permissions.
Add the new user to the sudo-ers group
sudo usermod -aG sudo brohrer
Then switch into the new user role
su - brohrer
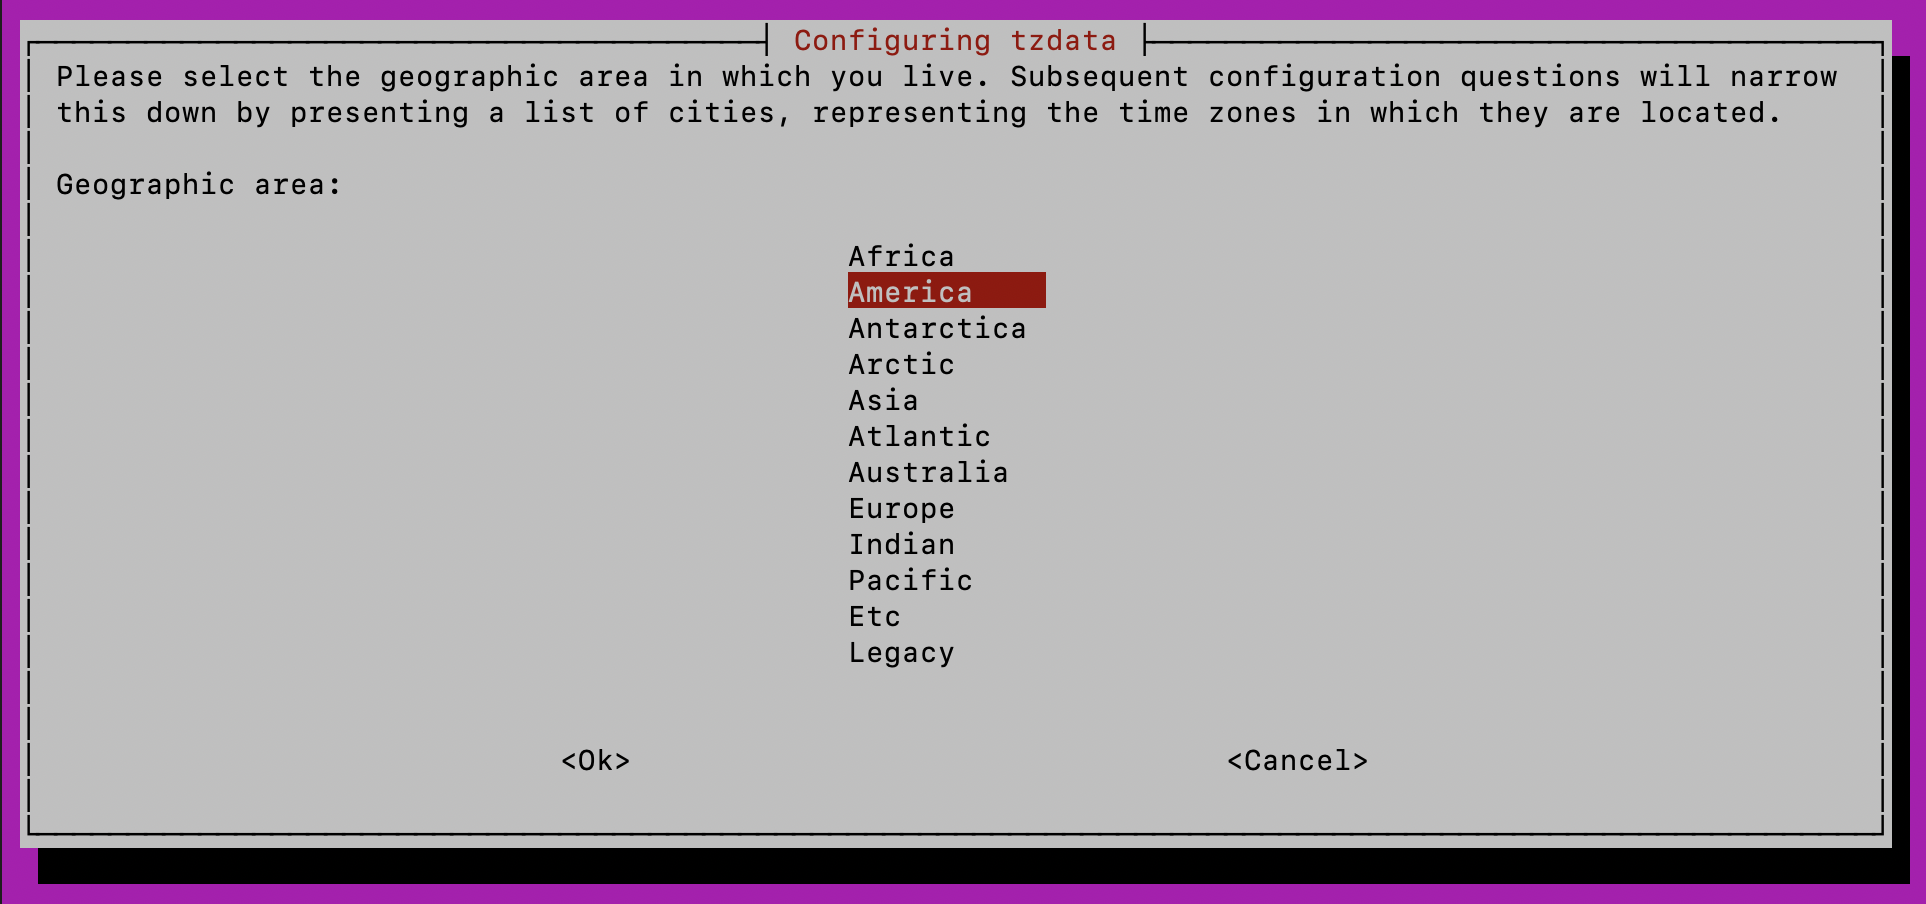
Test whether sudo works for you
sudo dpkg-reconfigure tzdata
You'll be prompted for your sudo password, which is the password for the user you just created. If it works, you'll see a dialog box like this
It's also a good time to enable ssh for the new user. First make a copy of the authorized keys.
mkdir .ssh
sudo cp /root/.ssh/authorized_keys .ssh/
The set all the ownership and permissions on them so that they will work for you.
sudo chown -R brohrer:brohrer /home/brohrer/.ssh
sudo chmod 0700 /home/brohrer/.ssh
sudo chmod 0600 /home/brohrer/.ssh/authorized_keys
The next time you ssh into your machine you can do it with your user name.
ssh brohrer@192.0.2.146
Install the Nginx web server
Next is installing some web server software. There are a few popular ones, like Apache, nginx, and Caddy. I went with nginx, because it's realtively lightweight and exposes some of the wiring, but they're all good, and there are people who love them all.
From Digital Ocean docs
sudo apt update
sudo apt install nginx
Here are some useful commands for managing nginx . We're not going to use them yet, but we'll be back soon.
Set up UFW
Before turning things on, it's helpful to set up defenses. The Web is really wild. Hostile and unhinged. A firewall gives you a protective barrier, a first line of defense for filtering out that noise.
Linux's is a great tool for this Uncomplicated Firewall (UFW). The DO docs and this page give a good onramp, but the basics are all below.
status shows whether it's up and running.
sudo ufw status
It's not because we haven't turned it on.
Status: inactive
Look at the list of apps we could add.
sudo ufw app list
Available applications:
  Nginx Full
  Nginx HTTP
  Nginx HTTPS
  OpenSSH
Before you do anything else, allow ssh (port 22). If you don't, you can forget
and end up turning on a firewall that blocks all ssh traffic. That makes it
very hard to ssh into the machine to fix it. Ask me how I know.
sudo ufw allow 'OpenSSH'
Now you can turn on the firewall
sudo ufw enable
And then add nginx. This tells the firewall to allow traffic in and out
associated with the nginx server. Nginx full allows both http (port 80)
and https (port 443).
sudo ufw allow 'Nginx Full'
and verify that it's running.
sudo ufw status
Status: active

To                         Action      From
--                         ——      —-
OpenSSH                    ALLOW       Anywhere
Nginx Full                 ALLOW       Anywhere
OpenSSH (v6)               ALLOW       Anywhere (v6)
Nginx Full (v6)            ALLOW       Anywhere (v6)
Start up nginx
From the command line
sudo systemctl start nginx
Verify the status.
sudo systemctl status nginx
Mine responds like this.
● nginx.service - A high performance web server and a reverse proxy server
     Loaded: loaded (/usr/lib/systemd/system/nginx.service; enabled; preset: enabled)
     Active: active (running) since Sun 2025-08-24 06:48:16 EDT; 7min ago
       Docs: man:nginx(8)
    Process: 3072 ExecStartPre=/usr/sbin/nginx -t -q -g daemon on; master_process on; (code=exited, status>
    Process: 3074 ExecStart=/usr/sbin/nginx -g daemon on; master_process on; (code=exited, status=0/SUCCES>
   Main PID: 3102 (nginx)
      Tasks: 2 (limit: 1110)
     Memory: 1.8M (peak: 3.8M)
        CPU: 33ms
     CGroup: /system.slice/nginx.service
             ├─3102 "nginx: master process /usr/sbin/nginx -g daemon on; master_process on;"
             └─3105 "nginx: worker process"
The ultimate test comes from throwing the web address of the server
into a browser http://192.0.2.146. It shows
this page if all has gone well
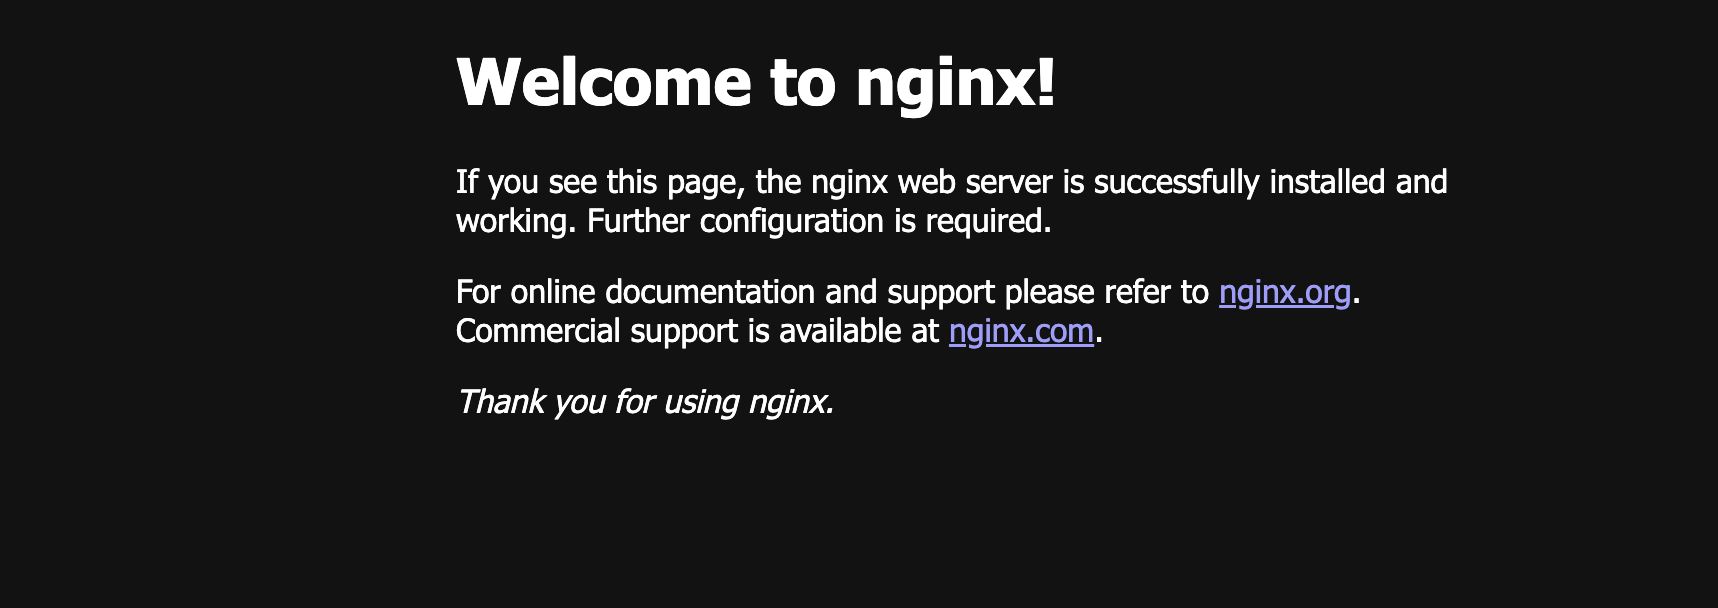
The html file for this page is /var/www/html/index.nginx-debian.html.
You can dump any other html files you want to share in this location too.
I added a few others, for instance pendulum.html, which can be accessed
at http://192.0.2.146/pendulum.html.
What's next
And that's a web server! You can spin up a new one any time you like in the time it takes to walk through this guide.
In the next installment we'll walk through how to tie all this to a domain name
like mycoolwebsite.com. That has the added benefit of giving you a consistent
home base for your material, rather than having to share a new IP address
every time you switch servers.